To setup Secondary printer follow the below steps
First of all switch on the secondary printer, Once its powered on, Printer will print IP Address settings as shown in below screenshot.
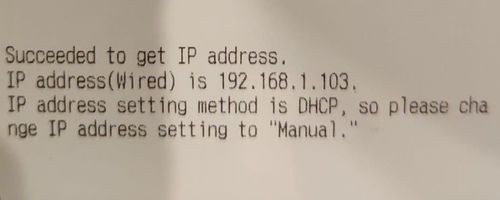
Step 1. Go to browser, and open your printer settings config (http://IP address/webconfig) of the Intelligent printer like shown in example below.
- e.g. http://192.168.1.103/webconfig

Step 2. If you are asked to log in – the login details are
- Username: “ epson ”
- Password: “ epson or serial number of the printer”
Step 3. You will be taken to this configuration page.

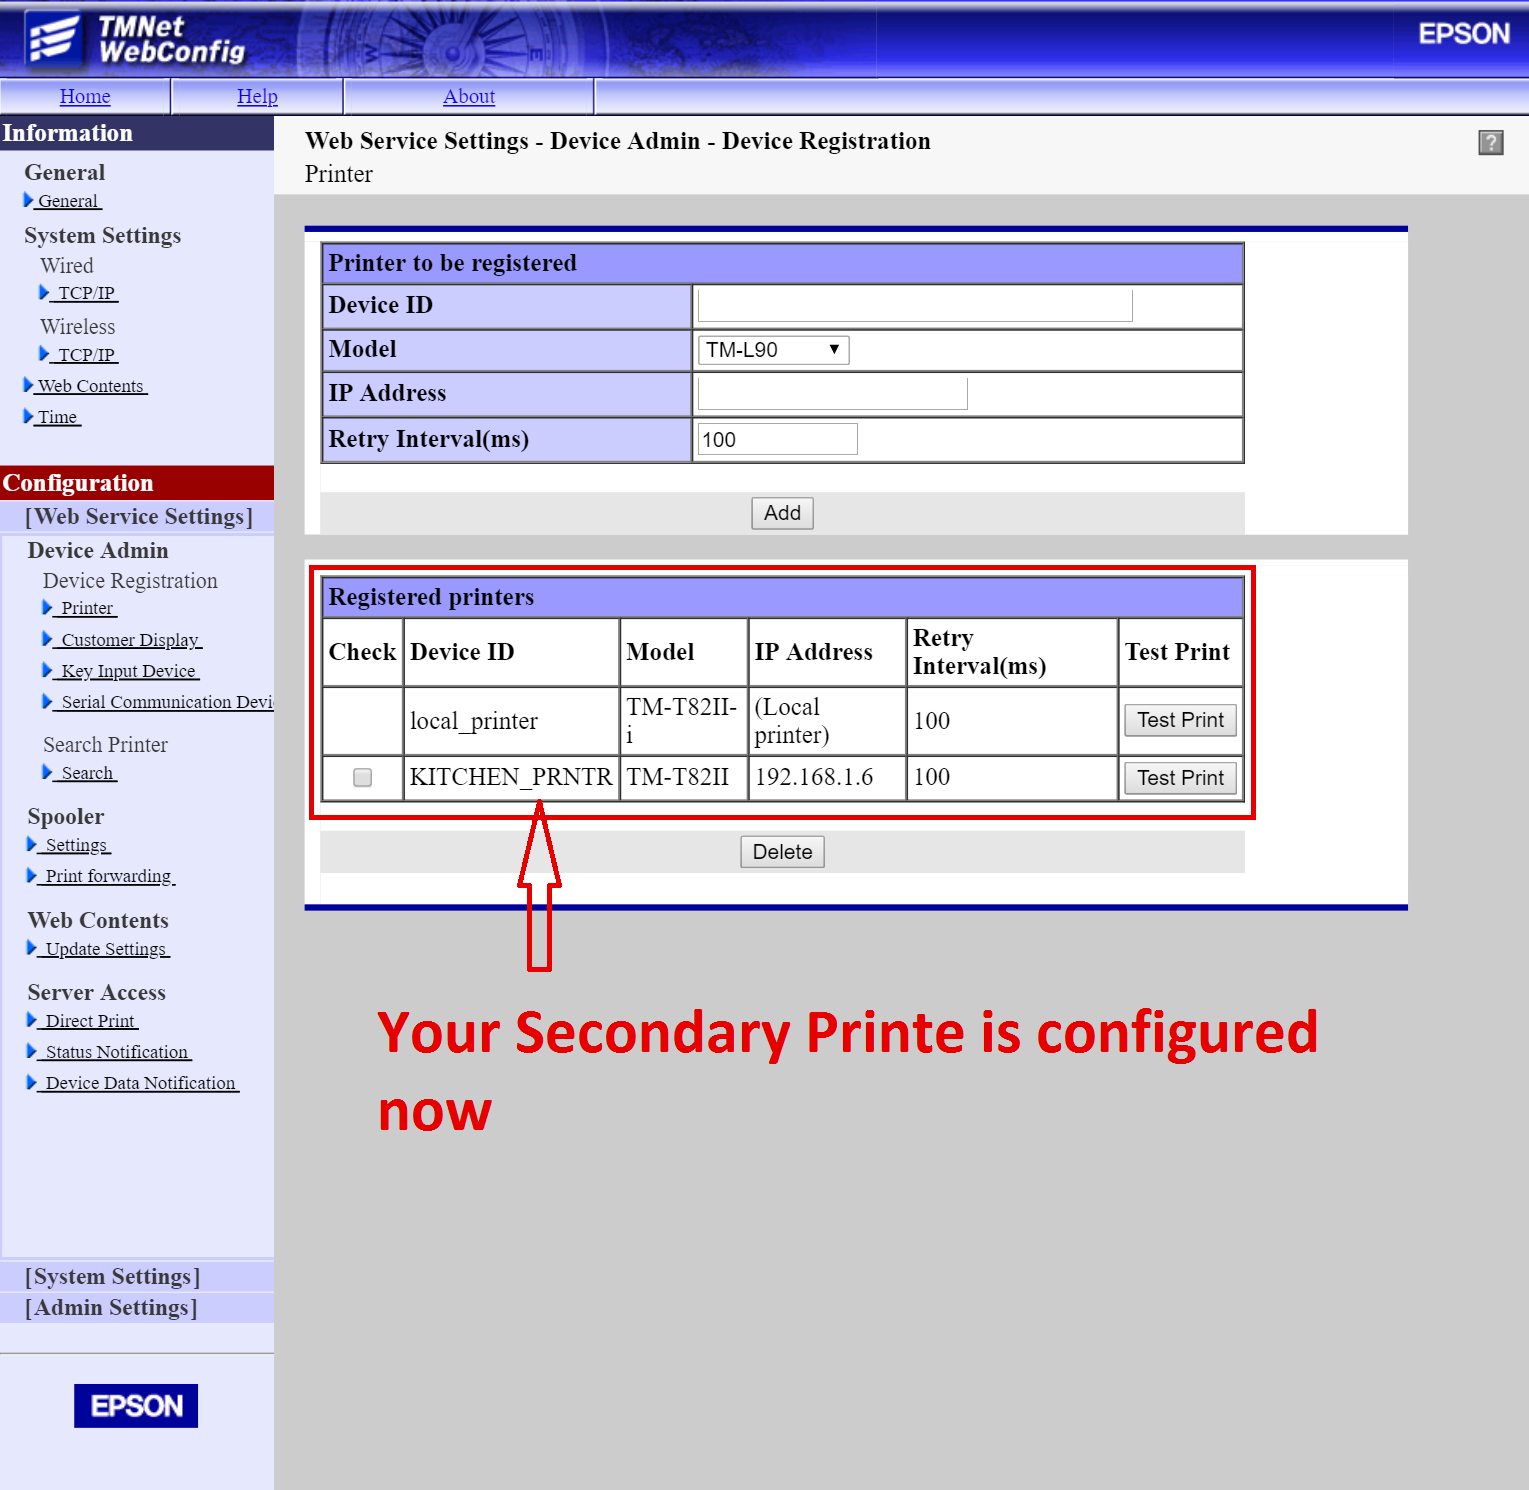
Step 4. GO to Web Service settings under Configuration, and then select Device Registration Printer.
- Enter the Device Id of printer, (e.g. for Kitchen the id can be KITCHEN_PRNTR, for BAR it can be BAR_PRNTR etc)
- Select your Printer model number
- Enter the Secondary printer Ip Address (As shown on the first fig)
- Retry Interval(ms) (leave it as it is for e.g. 100)
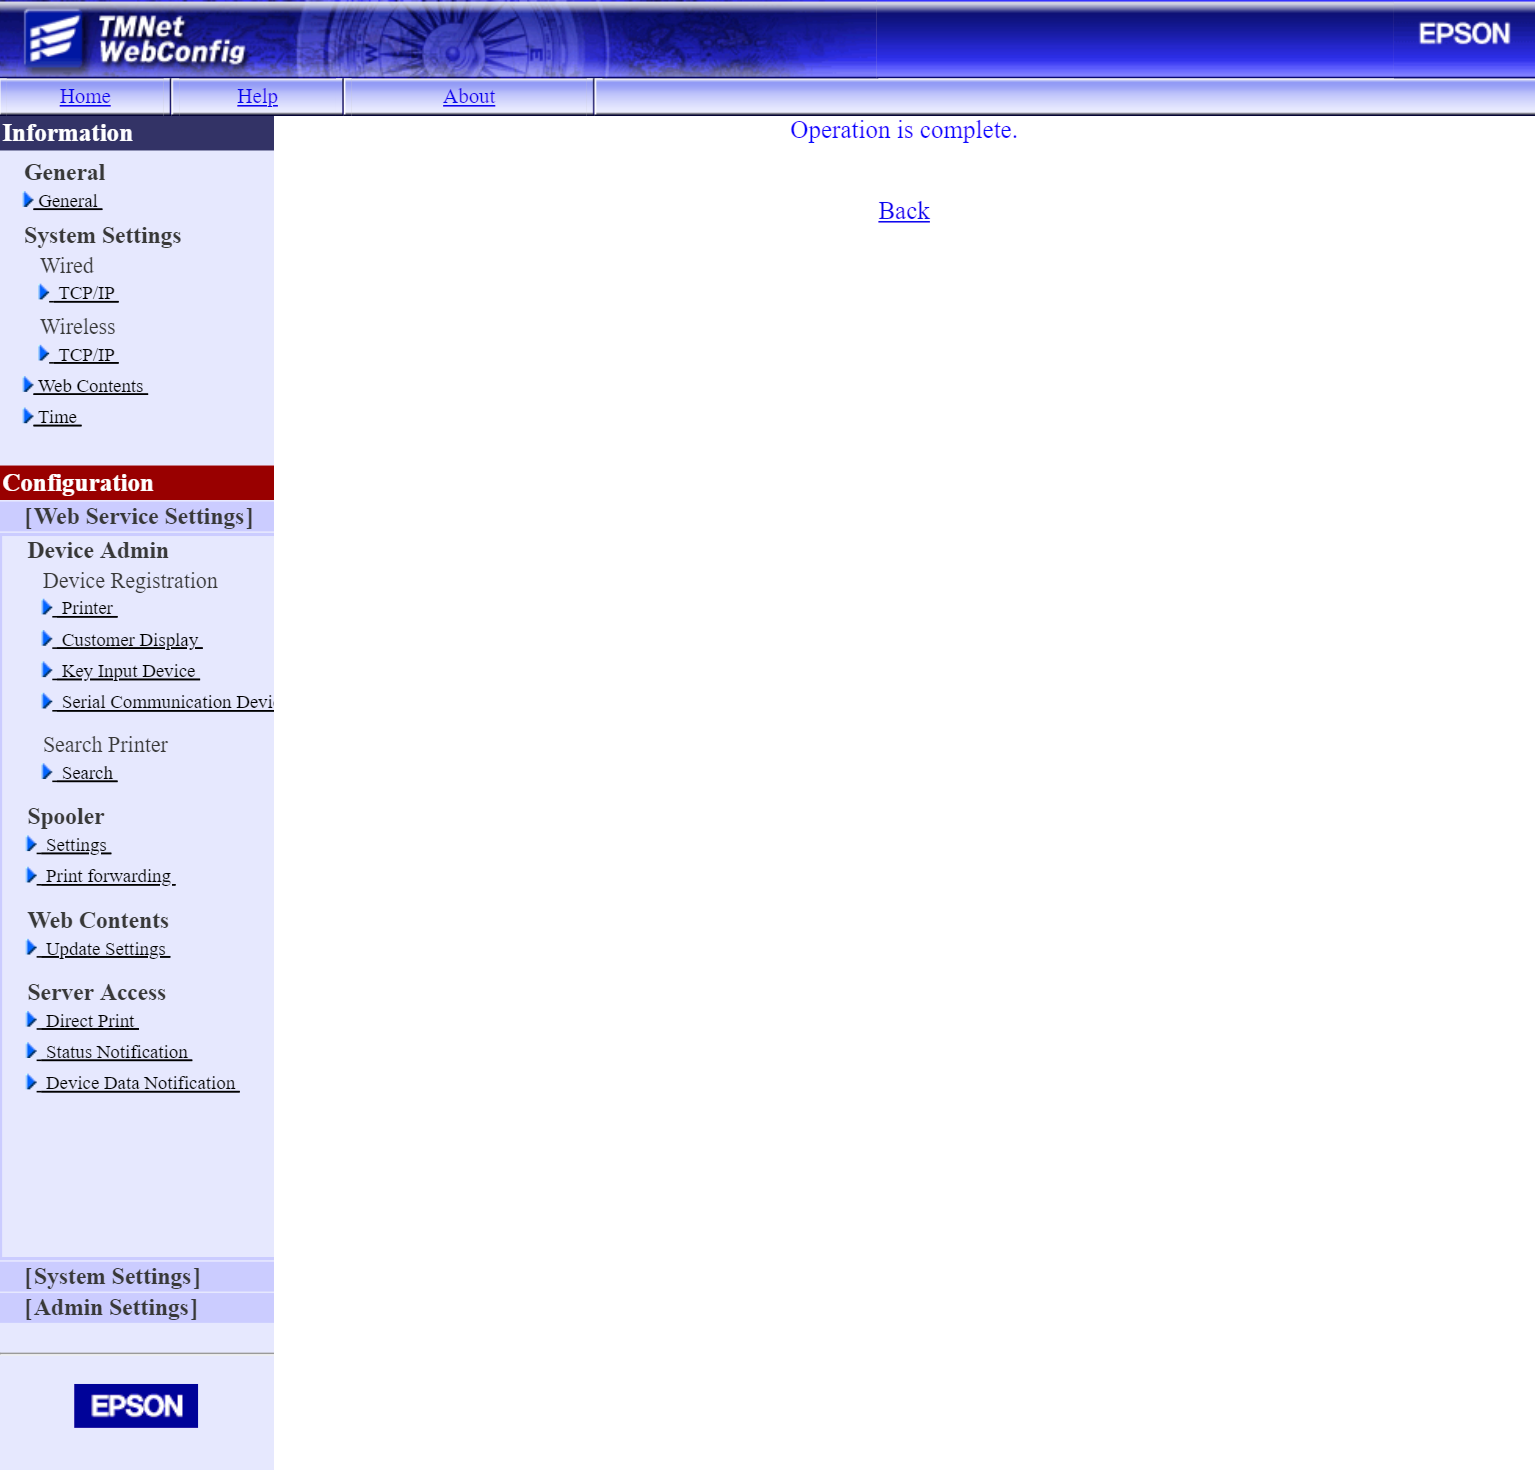
- Then click on Add to register your new printer, it will take around 1 to 2 Minutes
Configuration >> Web Service Settings >> Divice Admin >> Device Registration >> Printer

Now your secondary printer is registered
Click on Test Print button against secondary printer, if printer print the receipt then it will confirm the printers is responding well.